The Users page presents options for creating identities with access to the permitting and routing system.
Navigate to the Users screen by clicking the My Admin link then choosing Users from the User Management pane.
Click the Add a Record button.
When the Add/Edit Users page opens, enter the required information in the fields provided.
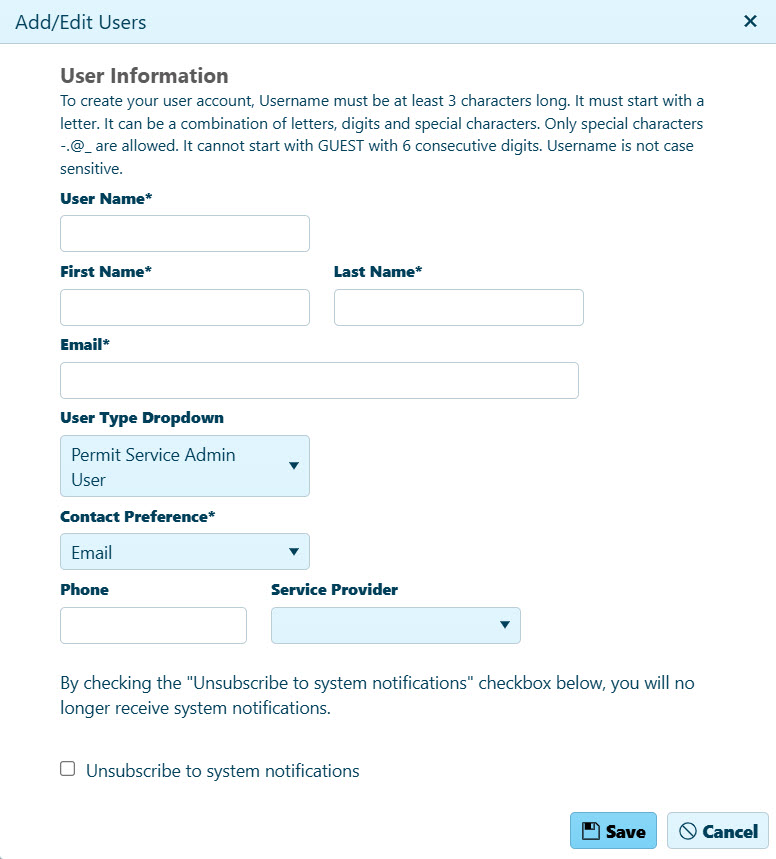
Note: Select Unsubscribe to system notifications checkbox to stop sending emails from the permit office to the user.
Click the Save button include the new record on the table or click the Cancel button to clear the fields and close this dialog.
Navigate to the Users screen by clicking the My Admin link then choosing Users from the User Management pane.
Click the Search button and choose a record from the table then click the Edit button.

When the Add/Edit Users page opens, alter the information as needed then click the Save button to apply your changes or click the Cancel button to close this page without making any changes.
Navigate to the Users screen by clicking the My Admin link then choosing Users from the User Management pane.
Click the Search button and choose a record from the table then click the Delete button.

The User's identity is removed from the database.
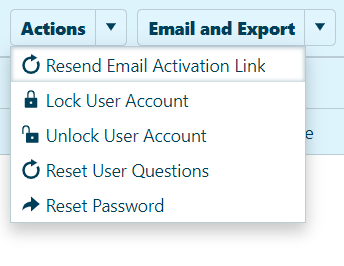
Resend Email Activation Link – choose this option to send the user another email with the activation link
Lock User Account – choose this option to prevent this user from accessing the system
Unlock User Account – choose this option to allow a user back into the system
Reset User Questions – choose this option to remove a user's security questions (Security questions allow the user to recover a forgotten password; the user must choose a new set of questions.)
Reset Password – choose this option to replace a user's current password with a new one
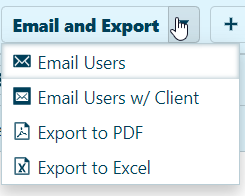
Email Users: Send an email to selected users directly from the system.
Email Users w/ Client: Send an email to selected users and include their associated clients in the communication.
Export to PDF: Download the current data or report in PDF format for easy sharing or printing.
Export to Excel: Download the current data or report in Excel format for further analysis or record-keeping.

Restore - Click this button to reactivate disabled user accounts, reinstating their access to the system.