Use the Generate a Trip function to identify a point of origin and a destination then the system will create a route between the two.
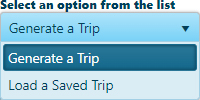
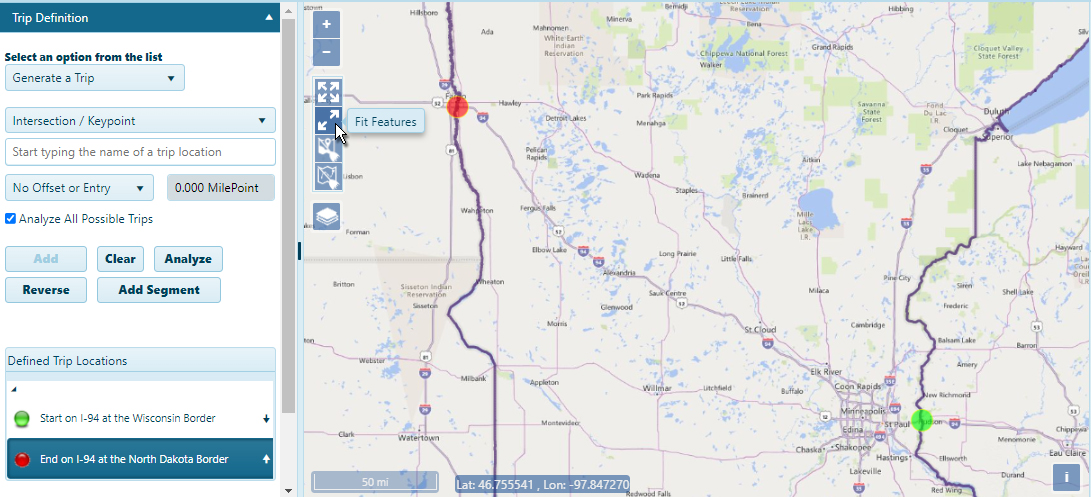
From the Trip Definition drop-down, choose the Generate a Trip option.
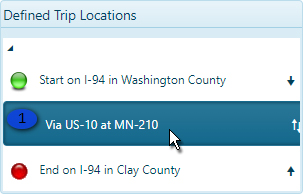
The Trip Definition pane will change, reconfiguring to allow you to define your trip by choosing a start location, identifying points of transition along the way, and designating your destination.
Designate your Starting Point by clicking on the map, by entering a recognized location, or by entering a street address. Be aware that you can select any item from the Defined Trip Locations list then click the Clear button to remove that location from the list and its marker from the map
Map:
Your cursor is already equipped to select Start and End locations on the map.
Click and drag on the map to pan to the desired area then use your mouse wheel to zoom in on the desired location. Be aware that you can zoom in close enough to choose a particular onramp. It isn’t essential that you zoom in to that degree, but it may be helpful.
Left-click to set your Start point. When you click, the map panel will center on the location, illustrating the origin point with a circle.
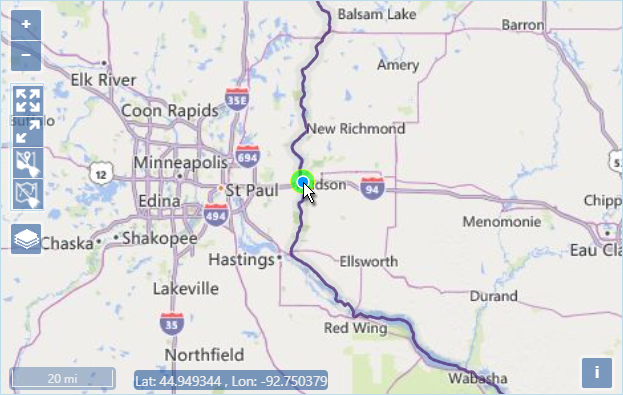
Pan and zoom the map to the End point of your route then left-click.
Click the Fit Features icon on the Map’s toolbar to view the whole route.
![]()
Location:
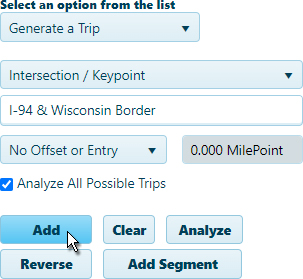
Designate a Start point by entering a location (for example, I-95 & Wisconsin border) in the field provided. You need only enter the first few numbers or letters in the name before the system presents you with options; choose the desired location from those options then click the Add button.
Designate an End point by entering a location (for example, I-95 & North Dakota border) in the field provided. You need only enter the first few numbers or letters in the name before the system presents you with options; choose the desired location from those options then click the Add button.
Click the Fit Features icon on the Map’s toolbar to view the whole route.
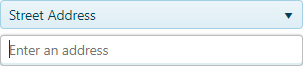
Address:
Enter the street address from which you will be travelling.
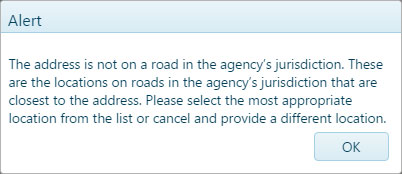
It is likely that the street address you give will not fall directly on a routable road. An alert will appear to tell you when this is the case. Click the OK button to acknowledge the alert.
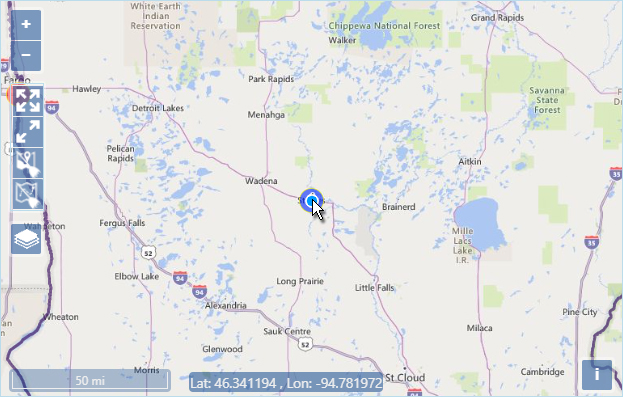
Options for a point of entry to the routing network will appear below. When you click on an option, the map will center on the chosen spot. If the entry point is desirable, click OK.
The Enter Location by Address box remains checked, so you need only enter the street address of your destination then click the Add button.
If you receive the same Alert message as before, click OK then choose from the optional exits of the routing network before clicking OK.
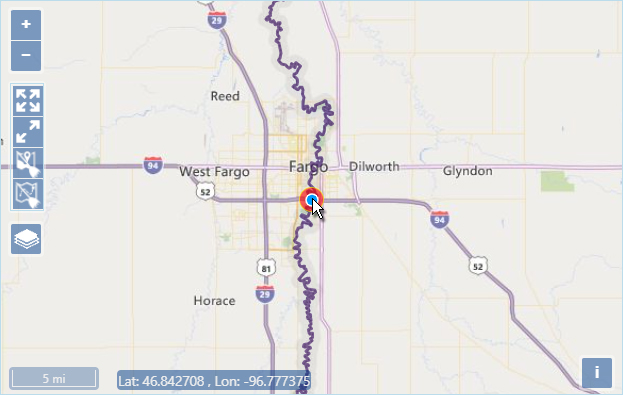
The destination is marked with a red circle.
Click the Fit Features icon on the Map’s toolbar to view the whole route.
If you need your route to pass through locations that do not fall along the system generated route, you can add those points of transition by clicking on the map, by entering a recognized location, or by entering an address.
Map:
Your cursor remains equipped to add points of transition to your route, so you can click on the map to identify a location.
You will notice that the newly chosen point was added to the bottom of the Defined Trip Locations list. Drag the location up to put your route in the correct order.
Location:
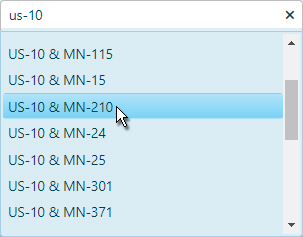
Identify a point of transition by entering a location (for example, I-94 North Dakota border) in the field provided. You need only enter the first few numbers or letters in the name before the system presents you with options; choose the desired location from those options then click the Add button.
When the newly chosen point appears at the bottom of the Defined Trip Locations list, drag the location up to put your route in the correct order.
Address:
Enter the street address to which you will be travelling and follow the same procedure you used to identify your Start and End points.
The newly chosen point appears at the bottom of the Defined Trip Locations list, so drag it up to put your route in the correct order.
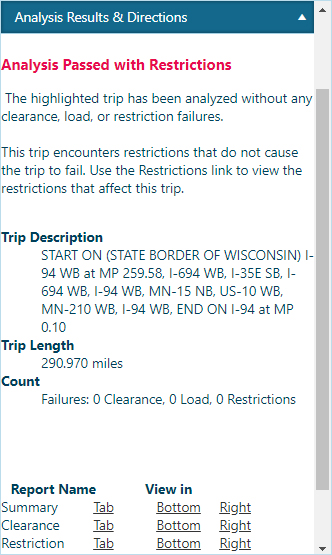
Click the Analyze button to have the system generate your trip.

Review the results on the Analysis Results & Directions pane.
If you wish to eliminate the current trip and start defining a new route, click the Clear Trip icon on the Map.
Use the Override and Edit options to work around evaluation or analysis complications and move the application forward.
Override Evaluation – check this box to allow an irregular vehicle
Override Analysis – check this box to allow a trip that failed analysis
Override Trip – check this box to disable the other Trip page functionality, allowing the application to proceed without a successfully analyzed route
Edit Trip – click this button if you checked the Override Trip box but you want to enter a text description of your route
Click the Save button to avoid losing your application.

Click the Forward button.