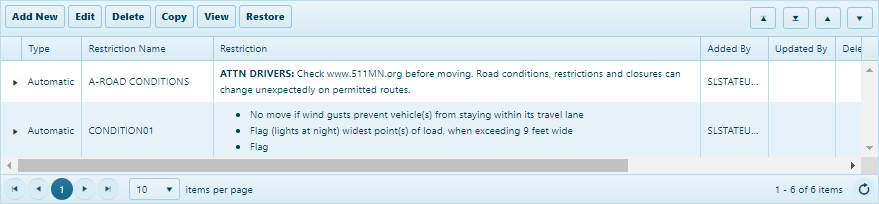
Use the Restrictions page to create Restrictions for, add Restrictions to, remove Restrictions from, or simply review Restrictions already applied to an application.
In the Permit Restrictions area, review any Restrictions applied to the application.
If you need to remove a Restriction from the list, click anywhere in the row of the desired record then click the Delete button. A check mark will appear in the Deleted Column, and your ID will appear in the Deleted/Restored by column.
If you need to examine a Restriction from the list, left-click anywhere in the row of the desired record then click the View button. The View dialog will display the Restriction Details. Click Close to return to the Restrictions page.
Click the Restore button to remove the check from the Deleted column. Your ID will appear in the Deleted/Restored by column.
If additional Restrictions are necessary, select from the available Restrictions table then click Add Selected Restriction.

If none of the available Restrictions are what you need, you can either create a new Restriction or edit an existing entry.
To create a new entry, click the Add New button.
On the Add dialogue, Type the content of the Restriction in the text window then apply any useful formatting.
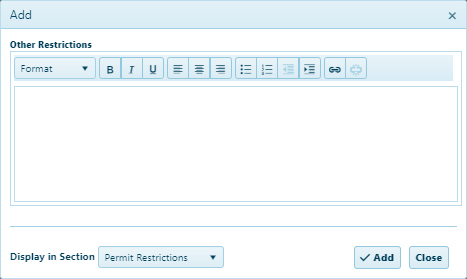
Click the Add button to include the new Restriction on the table or click Close to return to the Restrictions page without making additions.
To make changes to an existing entry, click the Edit button.
On the Edit dialogue, make any necessary changes to the content of the Restriction in the text window then apply any useful formatting.
Click the Update button to include the edited Restriction on the table or click Close to return to the Restrictions page without making any changes.
Review the Comments table at the bottom of the page before moving on to another page of the application.