Use the Analysis Process Functionality to upload a .zip file containing bridge analysis exes and its dependencies. After you Verify the uploaded record, it will be published nightly though a separate process on server. The uploaded .zip file is stored in blob format in the azure blob storage and the relevant information is recorded in database (for example, file size, version, status, created user, created time, etc.). The .zip file name should follow these format conventions: filename_mm-dd-yyyy.zip. Only one instance of a file can exist at any one time. This document illustrates correct use of the functionality and presents various scenarios you might face while using the functionality.
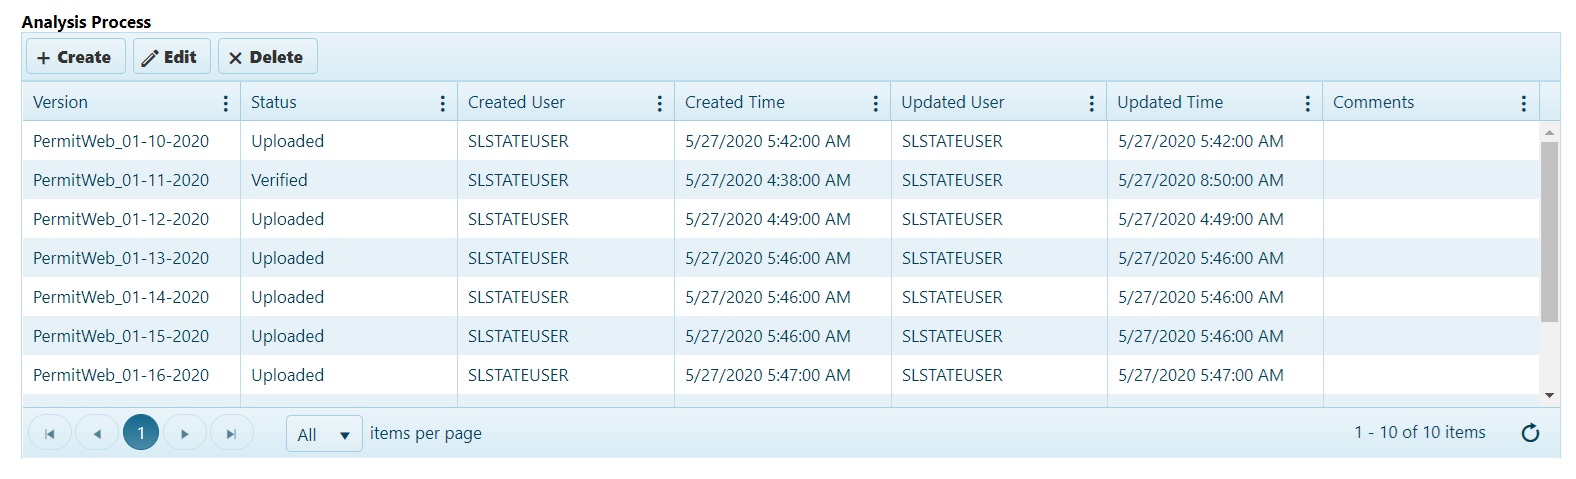
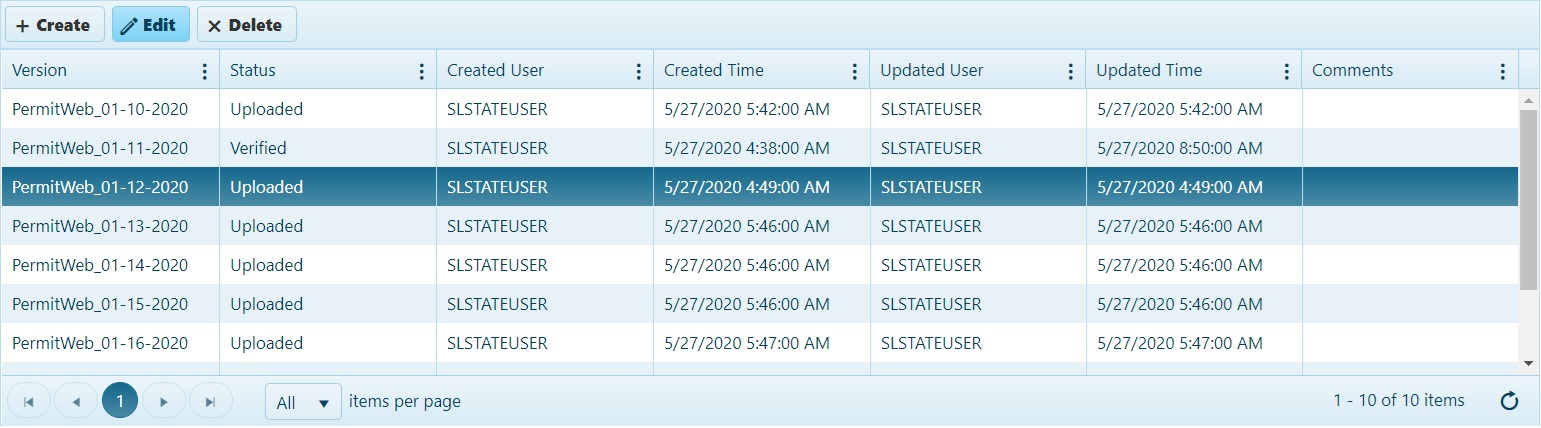
The Analysis Process grid has a toolbar with three buttons: Create, Edit, Delete.
Click the Create button to create a record.

Click the Edit button to update an existing record.

Click Delete to remove a record.

The grid has 7 columns:
Version: The version is the file name.
Status: The status signifies the stage of the progression at which the file stands. It can have three values (Uploaded, Verified, and Published).
Created User: This column displays the name of the user who created the record.
Created Time: This column displays the creation time of the record.
Updated User: This column displays the name of the user who has last updated the record.
Updated Time: This column displays the time at which the record was updated.
Comments: This column displays user-contributed comments.
1. After Logging in, click on My Admin.
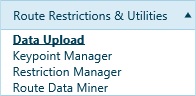
2. On the left-hand side, in the Route Restrictions & Utilities section, click on Data Upload.
To add a record, the file should meet the following criteria:
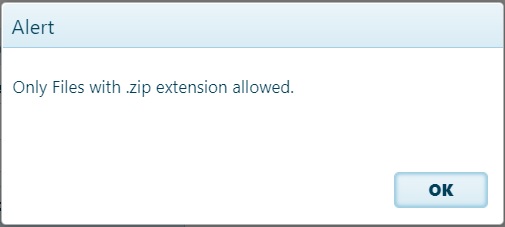
Only files with .zip extension are allowed.
The filename should be in proper format (i.e., the filename should be in the format: filename_’date’.zip)
The date in filename should be in the format specific for the state (e.g., for Wisconsin, the date format is mm-dd-yyyy).
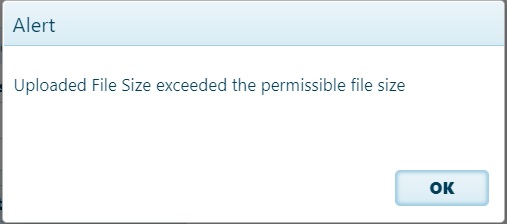
The file size should not exceed the permissible file size. The permissible file size can be controlled by system preference.
Adding duplicate records are not allowed; the .zip file to be uploaded must be unique.
Follow these steps to add a record:
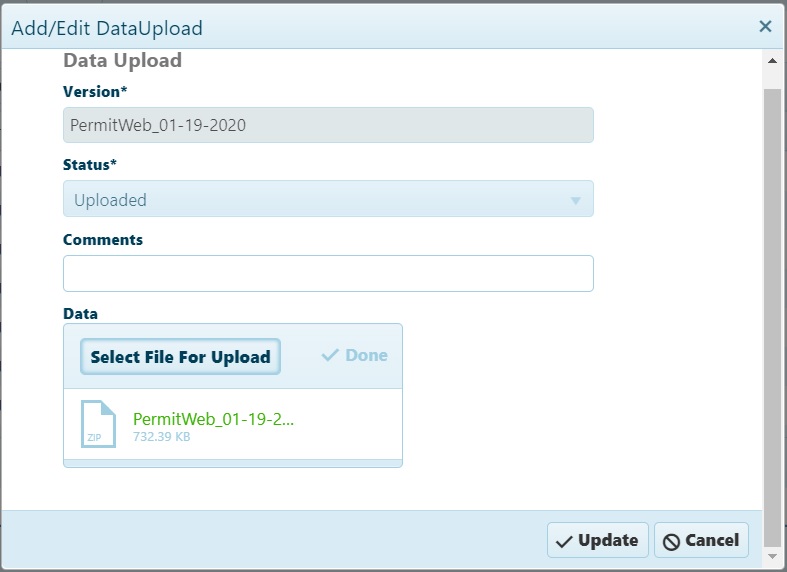
Click the Create button on the grid to add a record.
A pop-up appears.
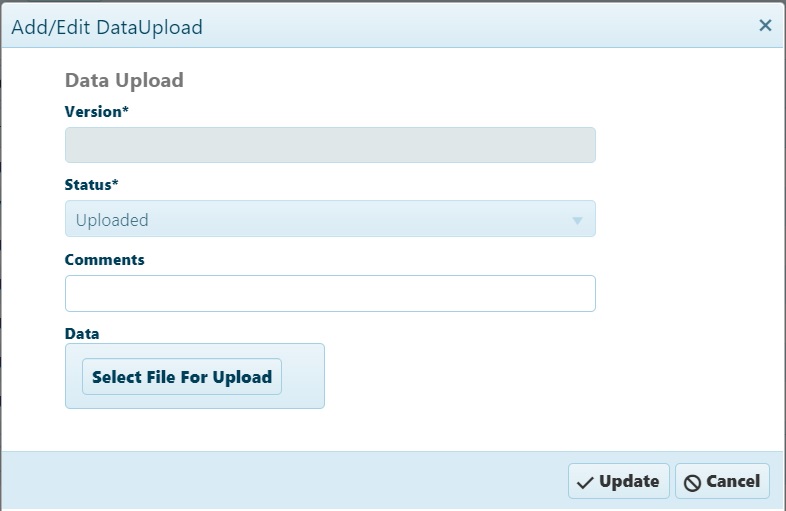
The Version field is disabled, because the version will appear automatically when the upload is complete.
The Status drop-down is read-only, defaulting to "Uploaded".
Enter Comments in the field provided.
Click the Select Files For Upload button then navigate to the file you wish to upload and double-click it.
When the progress bar indicates that the upload is complete, click OK.
A message indicating the success of the transaction will appear.

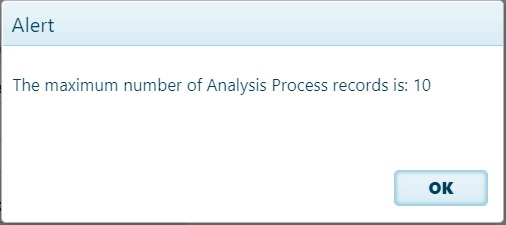
Note: The maximum number of files that can be uploaded is controlled through system preference. The default value is 10. If 10 records are already present and you wish to upload a new version, then you must delete one of the existing versions.
Select the record to be edited.
Note: You must select a record to update. If you click the Edit button without choosing a record, you will receive a message urging you to make a choice prior to clicking the button.

When you click the Edit button, a dialog will open.
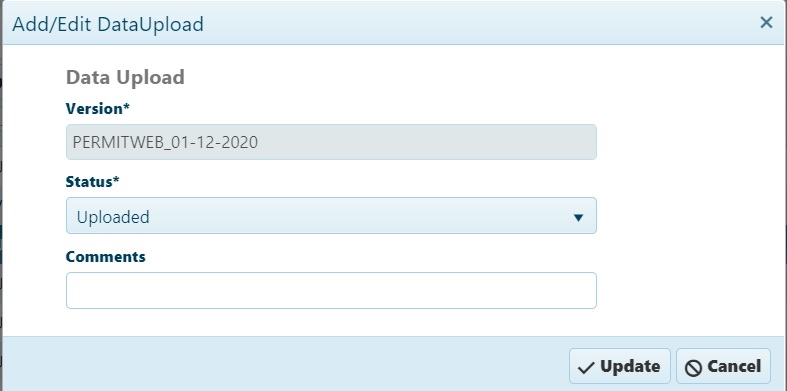
The dialog offers three fields:
The Version field is read-only; it contains the version of the uploaded file.
The Status field is a drop-down with options that designate whether the record is Updated, Verified, or Published.
Note: The Status must proceed from Updated to Verified. Changing the status to Published is not allowed here.
The Comments field presents notes contributed to the record.
Make your changes then click Update.
A message signifying the success of the operation will appear.
Select the record you wish to remove from the table then click the Delete button. 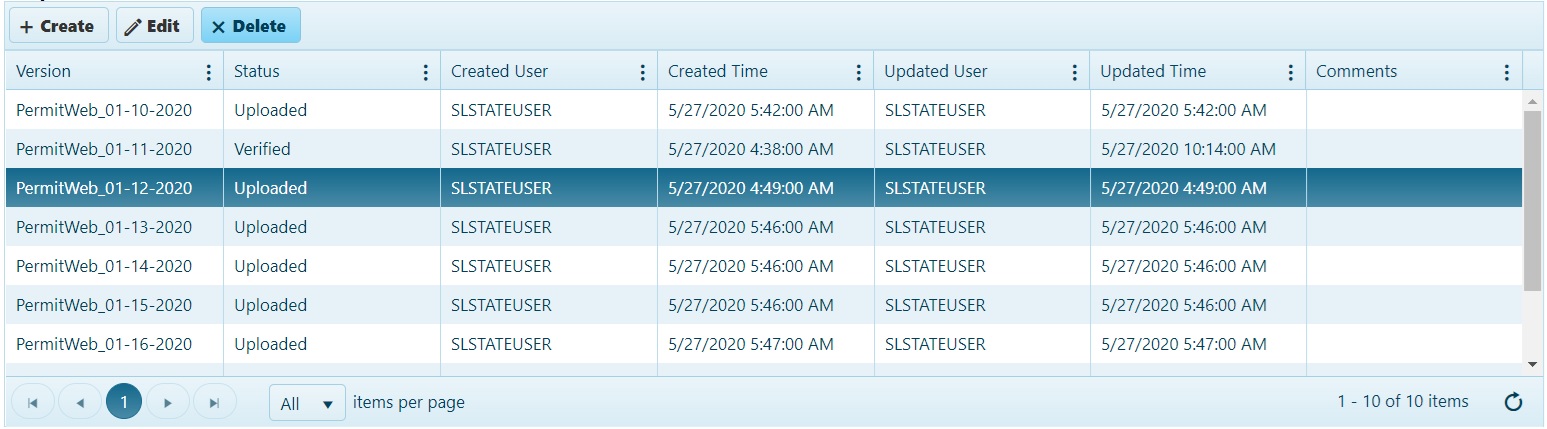
Note: You must select a record to delete. If you click the Delete button without choosing a record, you will receive a message urging you to make a choice prior to clicking the button.

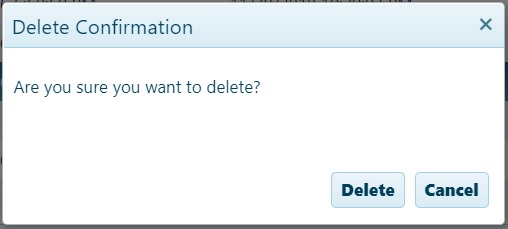
When you click Delete, a confirmation pop-up will appear.
A message signifying a successful deletion will appear.
Please be aware of the following:
To re-publish an already published record, the status of the record must be changed to Verified so that the record can then be published.
There can be only one verified record existing at any given time.
While adding a record, you will get the following messages in the scenarios mentioned.
If you attempt to upload a duplicate file:
If you attempt to add a file with an invalid extension:
If you attempt to add a file with a date in the filename in an invalid format:

If you attempt to add a file that exceeds the maximum limit:
If you attempt to add a file that exceeds the permissible limit:
While using the Edit dialog for a record, you will get the following message if you attempt to verify a second record while another remains verified:

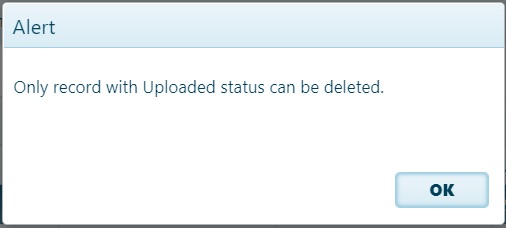
While Deleting a record, you will get the following message when you attempt to delete a record that has the Verified or Published status.
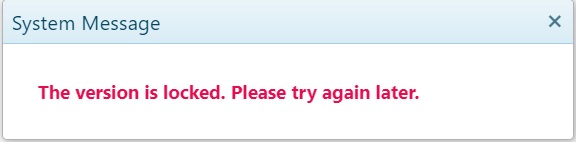
This message will display when you attempt to update or delete a locked record.